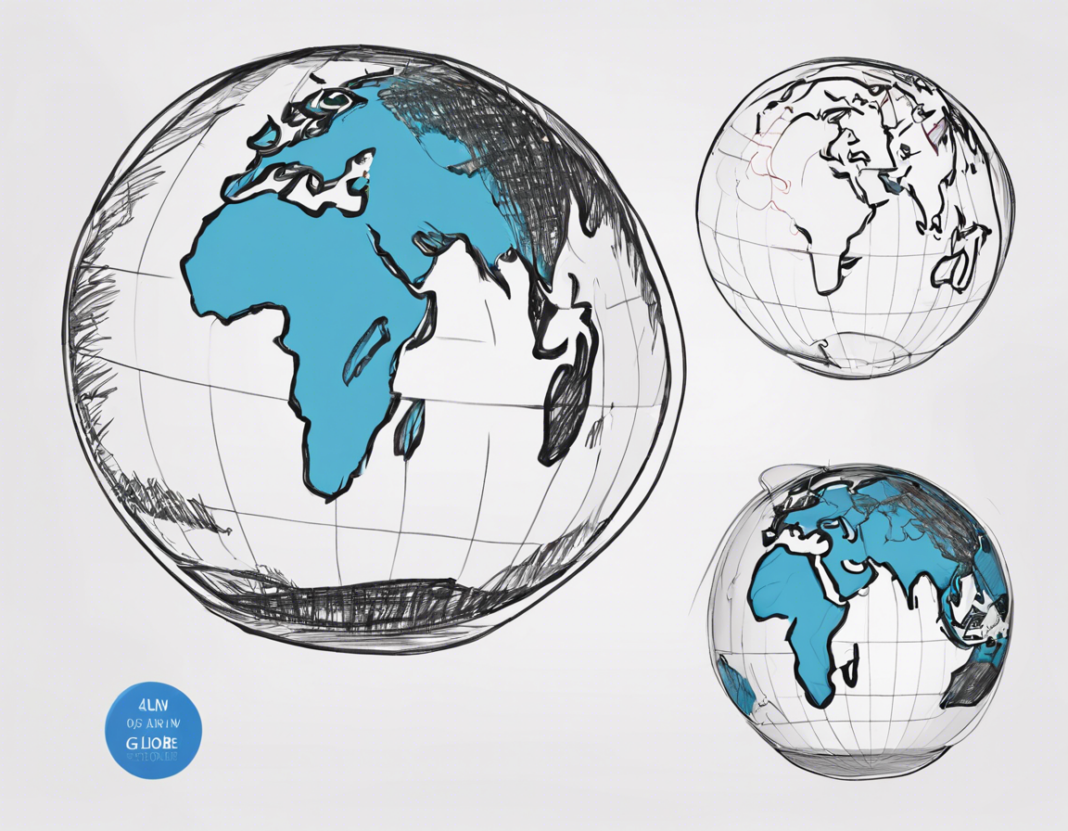
The art of drawing a globe is an exciting skill that combines creativity with precision. Whether you are a budding artist, a student, or simply an individual looking to add a touch of sophistication to your projects, mastering the technique of drawing a globe can be both fun and rewarding. In this comprehensive guide, we will explore the step-by-step process of drawing a realistic globe, focusing on key elements such as proportions, shading, and texture to bring your artwork to life.
Getting Started: Tools and Materials
Before diving into the drawing process, it’s essential to gather the necessary tools and materials. Here’s what you will need:
- Drawing paper: Choose a high-quality paper that can withstand multiple layers of shading.
- Pencil set: Opt for a set of pencils with varying degrees of hardness (e.g., 2H, HB, 2B, 4B).
- Eraser: A soft eraser will help you make corrections without damaging the paper.
- Blending stumps: These tools are useful for blending and smudging graphite for a smooth finish.
- Compass: For drawing precise circles.
Step 1: Sketching the Basic Shape
- Start by lightly sketching a large circle in the center of your paper using a compass. This circle will be the base of your globe.
- Next, draw a smaller circle slightly above the center of the large circle. This smaller circle represents the North Pole.
- Similarly, draw another smaller circle slightly below the center of the large circle to represent the South Pole.
Step 2: Adding Continents
- Begin by sketching the rough outlines of the continents on the larger circle. Africa, Europe, Asia, North America, South America, Australia, and Antarctica are the primary continents to include.
- Take your time to ensure the proportions and placements of the continents are accurate. You can refer to a reference image or a world map for guidance.
- Once you are satisfied with the placement of the continents, darken the outlines to make them more prominent.
Step 3: Adding Depth and Shading
- To create a three-dimensional effect, start shading the globe. Begin by identifying a light source, which will determine where the light and shadows fall on the globe.
- Use a lighter pencil (2H or HB) to add a base layer of shading to the areas of the globe that are facing away from the light source.
- Gradually build up the layers of shading using progressively darker pencils. Focus on creating a smooth gradient from light to dark to give the globe a realistic appearance.
- Pay attention to the curves and contours of the globe, adding darker shading to areas that are farther away from the light source to create depth.
Step 4: Adding Details and Textures
- Once you have established the basic shading, add details such as mountain ranges, rivers, and coastlines to the continents.
- Use a light touch to create subtle textures that mimic the natural features of the Earth.
- Blend the textures and details using a blending stump to integrate them seamlessly with the rest of the drawing.
Step 5: Final Touches
- Evaluate your drawing and make any necessary adjustments to ensure accuracy and realism.
- Add highlights to areas of the globe that are hit by direct light to enhance the three-dimensional effect.
- Use your eraser to create subtle highlights and add highlights on the water bodies to create a reflective surface.
- Sign your masterpiece and admire your creation!
Frequently Asked Questions (FAQs)
Q1: Can I use colored pencils or markers to draw a globe?
A1: While traditional graphite pencils are commonly used for drawing globes, you can experiment with colored pencils or markers to add a unique touch to your artwork.
Q2: How can I make my globe drawing look more realistic?
A2: Pay attention to details such as shading, textures, and highlights to add depth and realism to your globe drawing.
Q3: Do I need to be an experienced artist to draw a globe?
A3: No, drawing a globe can be a fun and educational activity for artists of all levels. Practice and patience are key to mastering this skill.
Q4: Are there any online tutorials or resources that can help me improve my globe drawing skills?
A4: Yes, there are numerous tutorials and resources available online that offer step-by-step guidance on drawing globes.
Q5: How long does it typically take to complete a detailed globe drawing?
A5: The time taken to complete a globe drawing can vary depending on the level of detail and complexity. On average, a detailed drawing may take several hours to complete.
In conclusion, mastering the art of drawing a globe requires a combination of technique, creativity, and attention to detail. By following the steps outlined in this guide and practicing regularly, you can enhance your drawing skills and create stunning representations of the Earth. So, grab your pencils, unleash your creativity, and embark on the journey of drawing the world in your own unique style!


